Understanding the contents of an image is a walk in the park for humans. However, they are a tough row to hoe even for the most advanced algorithms. Welcome the alternative text attribute – a simple string that aims to, among others, help search engines understand images better. By adding alt tags to your images in WordPress you can rank higher and get more visitors from Google.
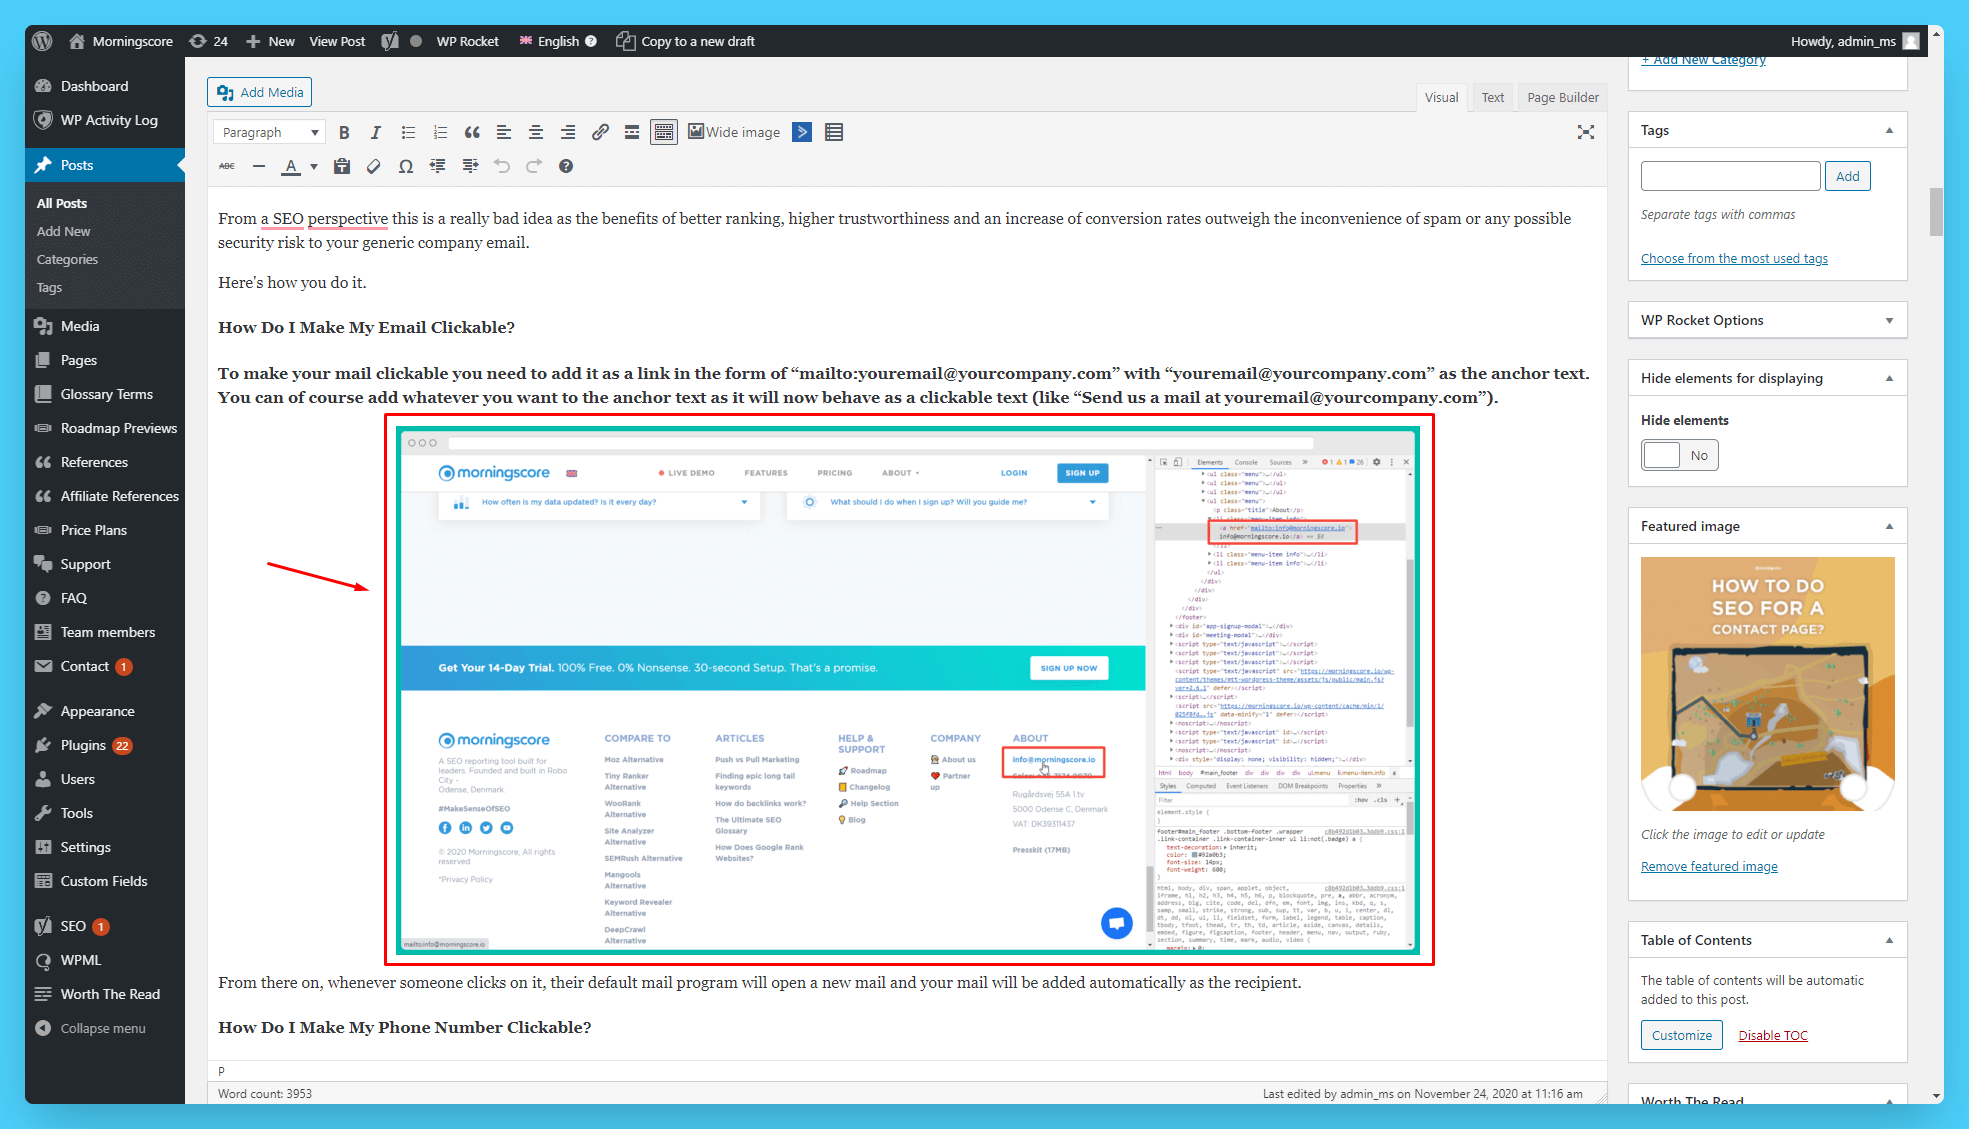
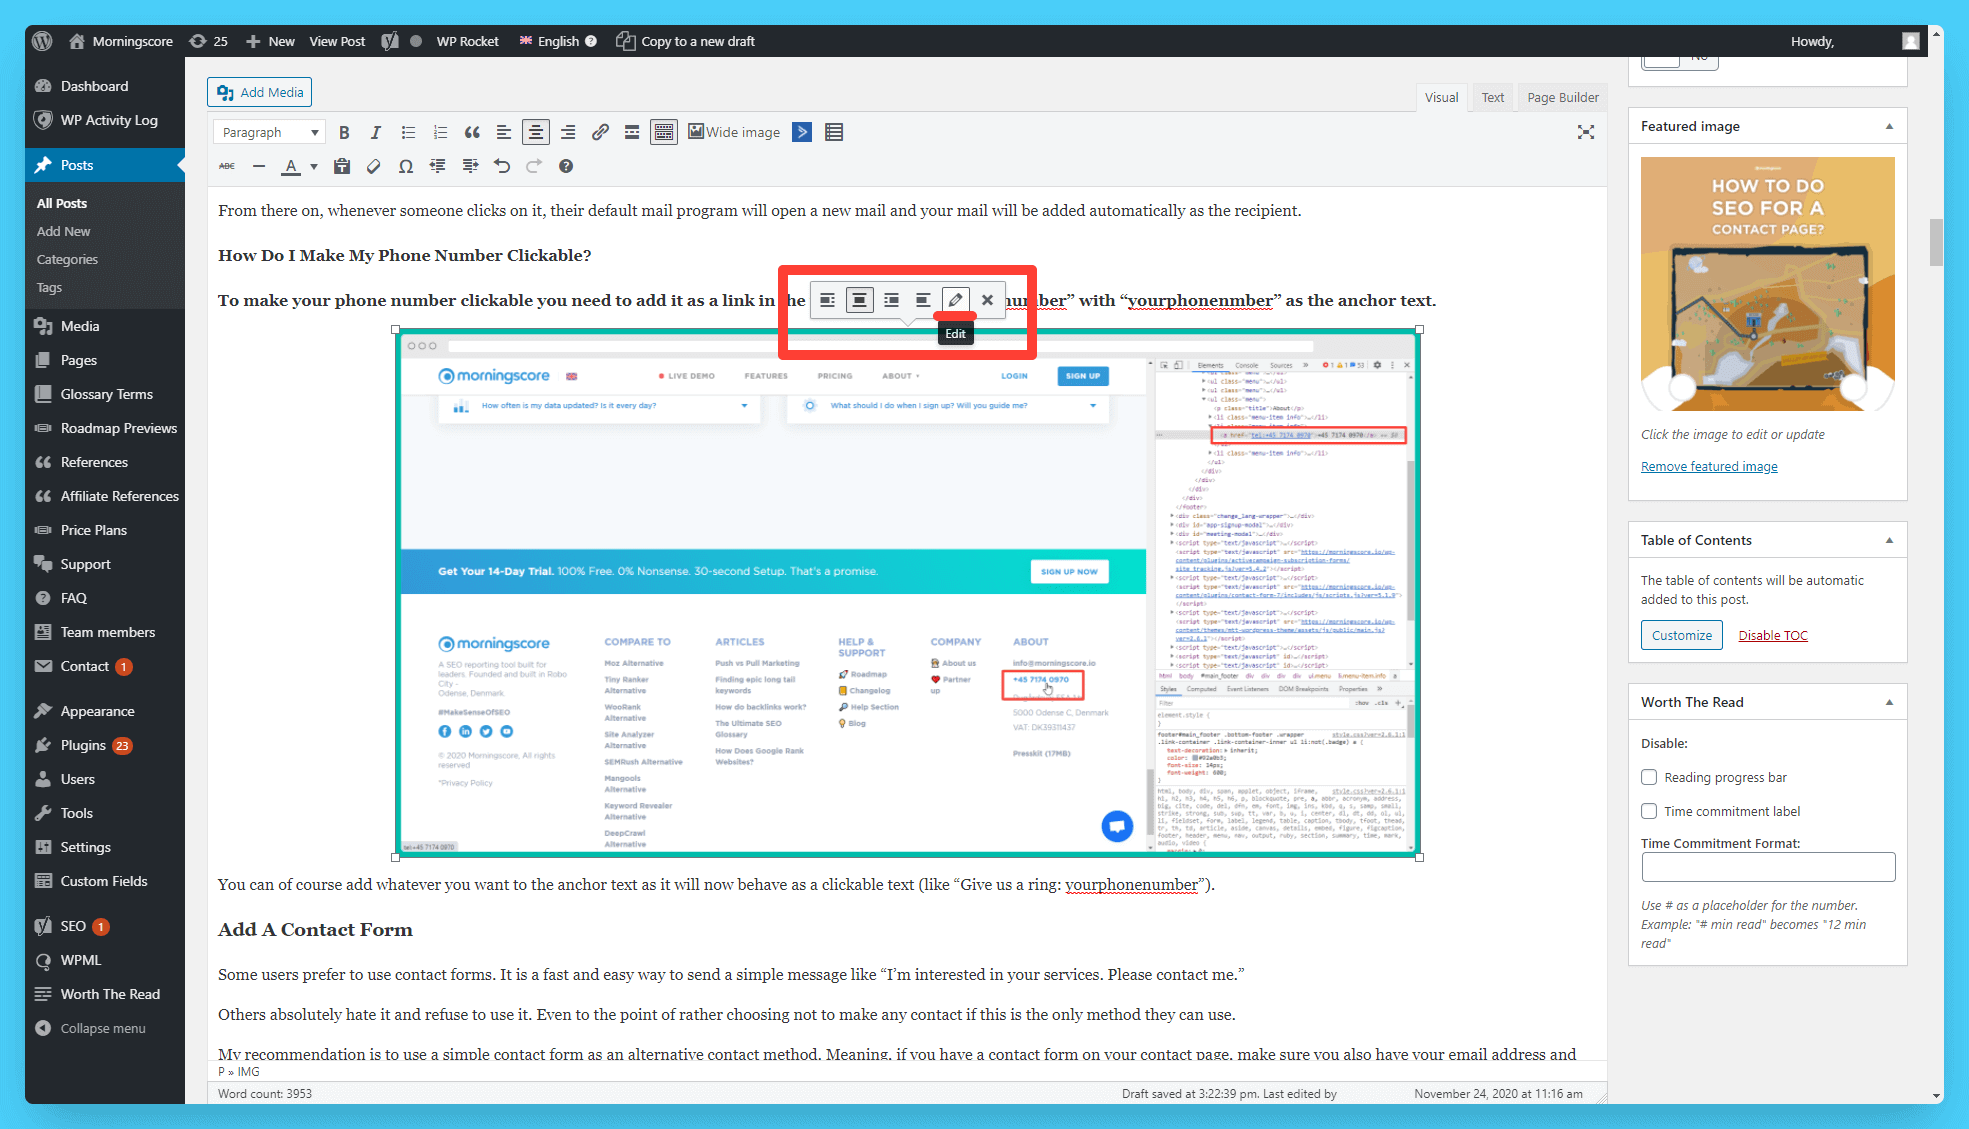
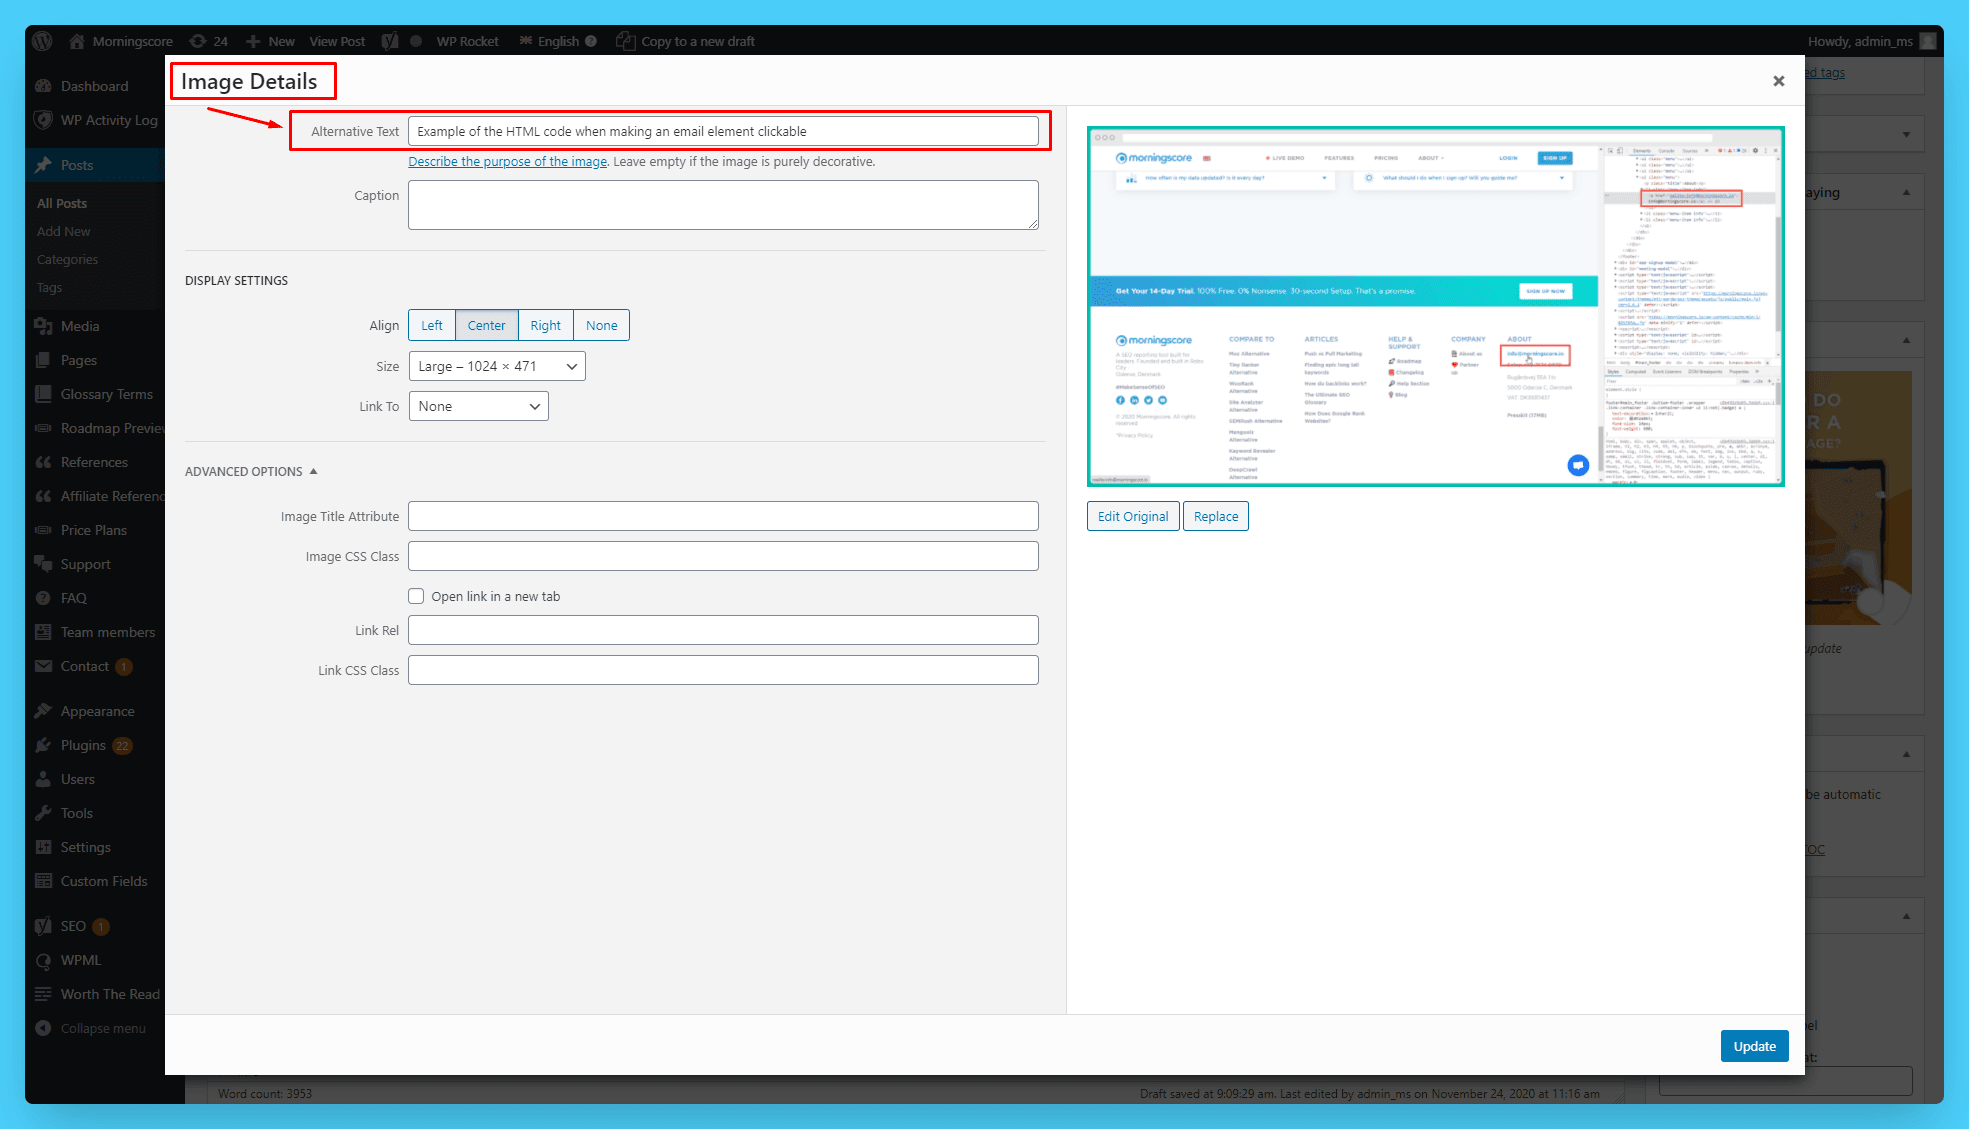
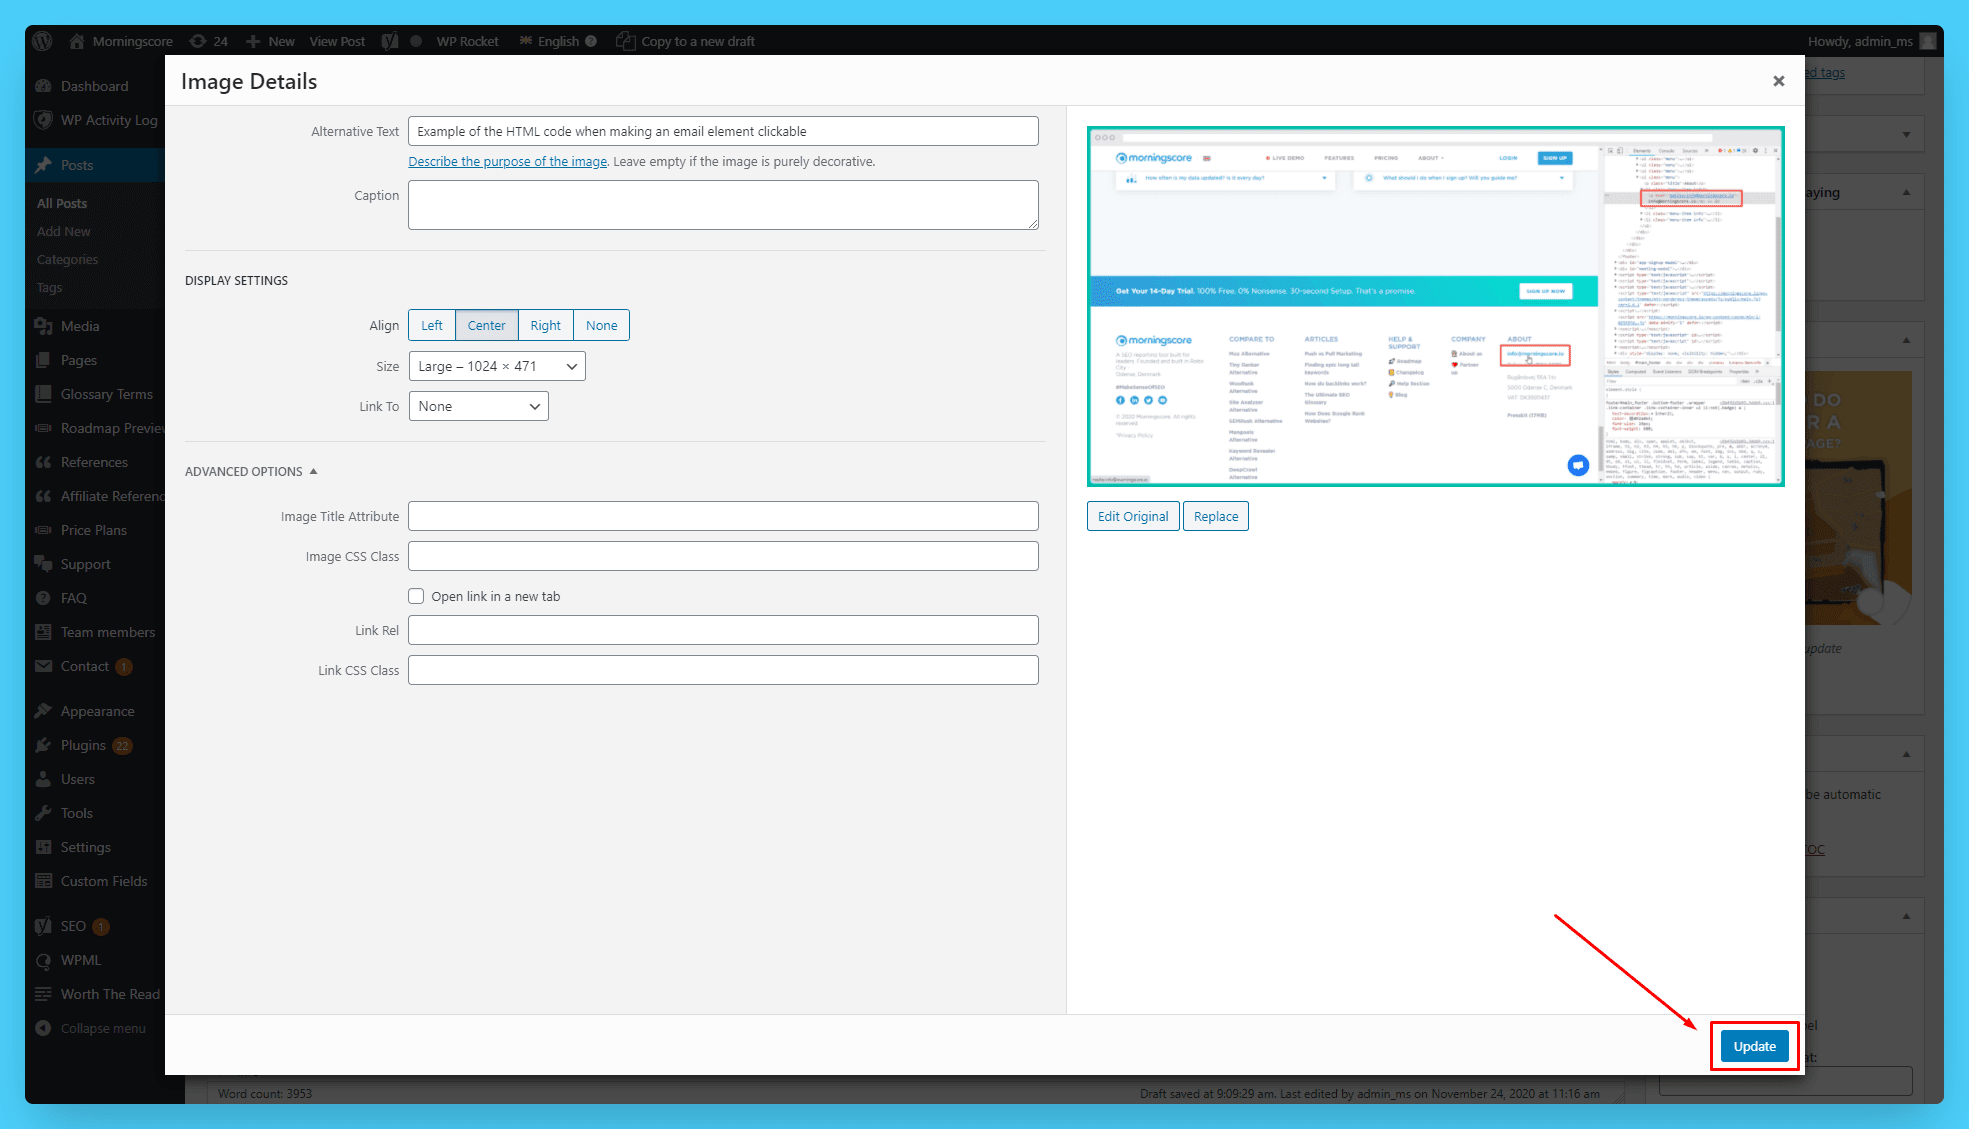
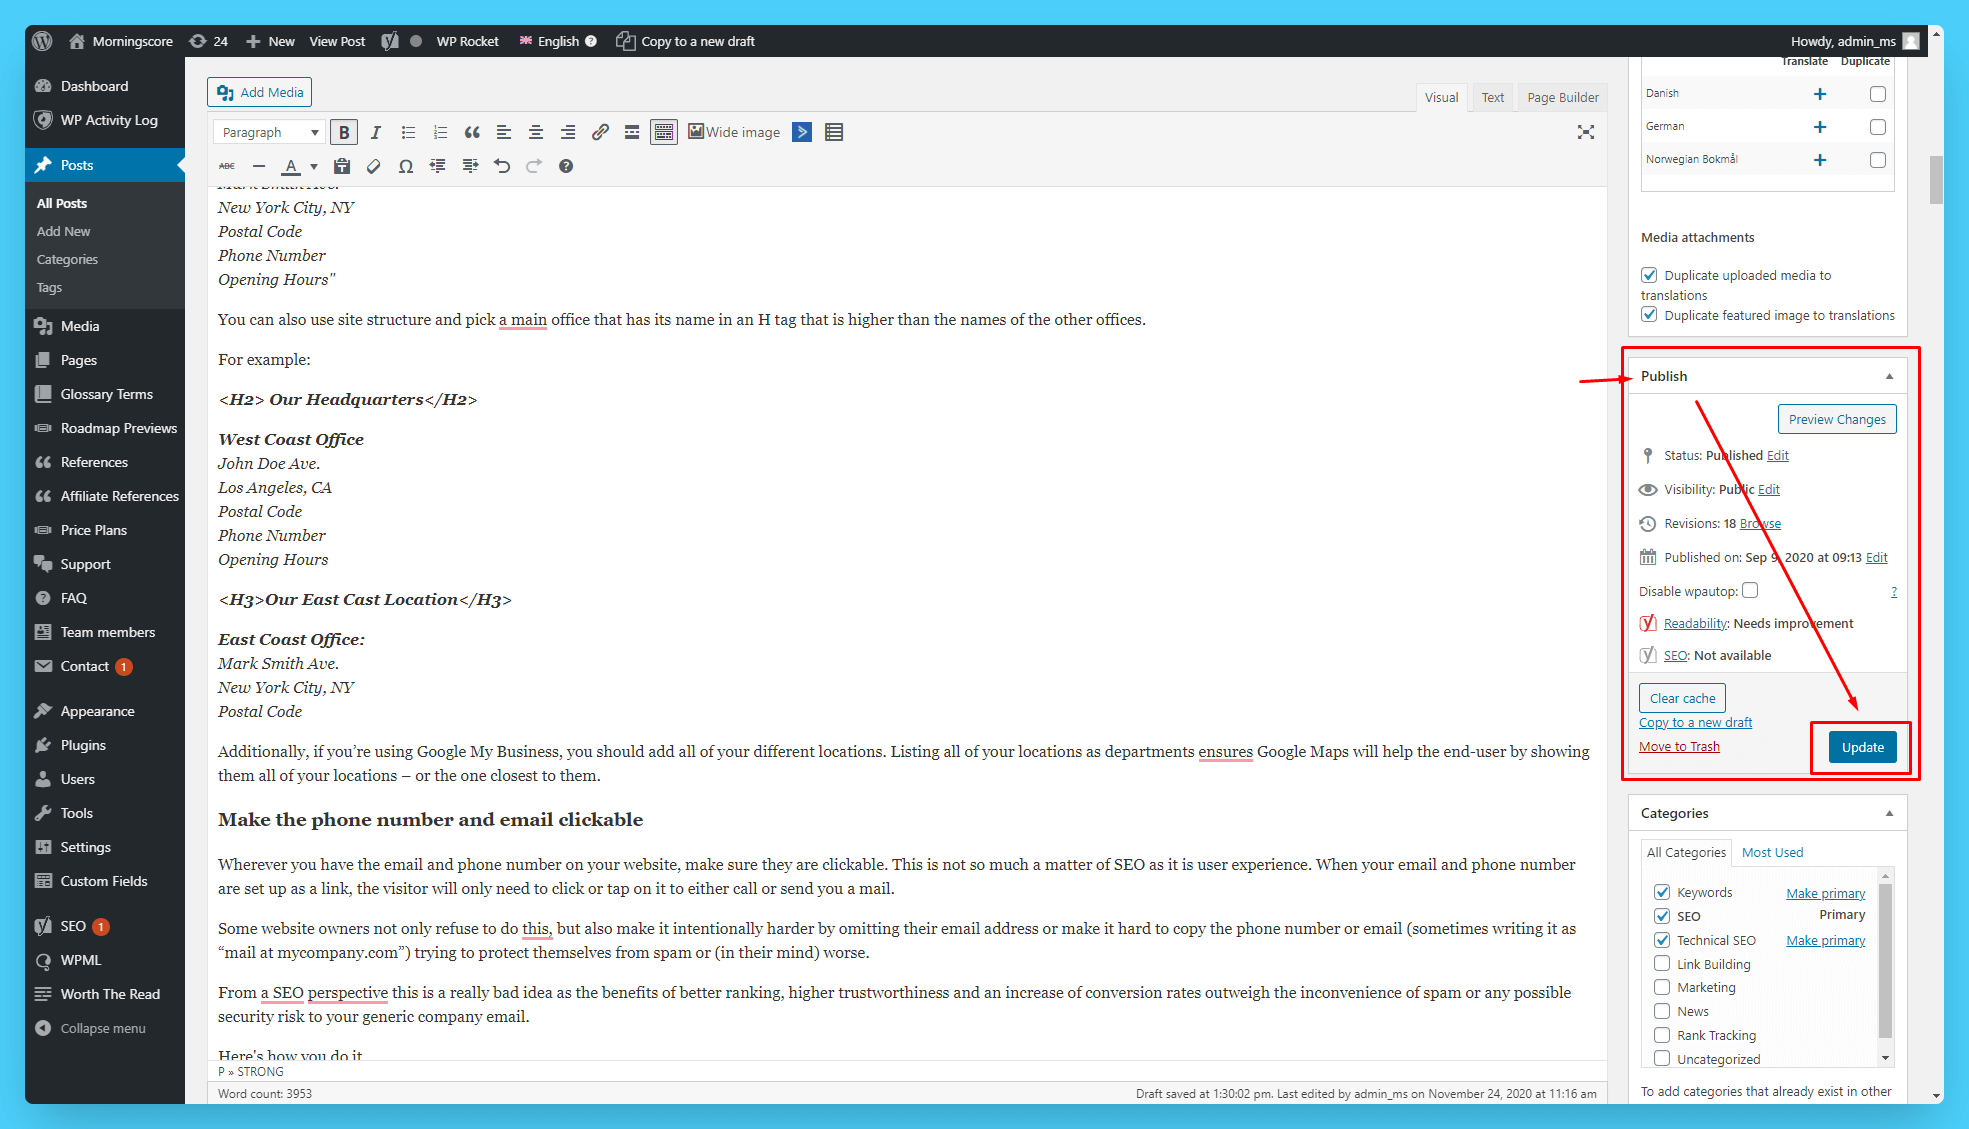
The method shown here is the simplest, easiest, and fastest way to insert alt tags in WordPress. Adding (or changing) image alt tags in WordPress can be done in 5 steps:
This method also allows you to add very relevant alt texts since you can see exactly where in the content this image will appear.
We also showcase the method from above in this video:
Alternative Ways To Add The Tags
Out of the box, WordPress is easy to work with even for beginners. It comes with simple and straightforward functionality. But with customizations and changes, trying to make our website perfect for our target audience, we often introduce more variables that can change that functionality. If you’re experiencing problems with the method listed above, here are two alternative methods that help you achieve the same.
Alternative Method #1: In WordPress’ Media Library
Here’s a simple alternative way of adding the alternative text. WordPress allows you to add the alternative text attribute to images directly in the Media Library. This functionality sets a “global” alt text for the image, which WordPress then uses in every instance of the image on every page.
It’s also great because it allows you to save time by doing the work just once. It works great if you don’t want to mess with the code and pages where you have previously inserted images.
Here’s the first alternative method:
- Log in to the WordPress admin panel of your website.
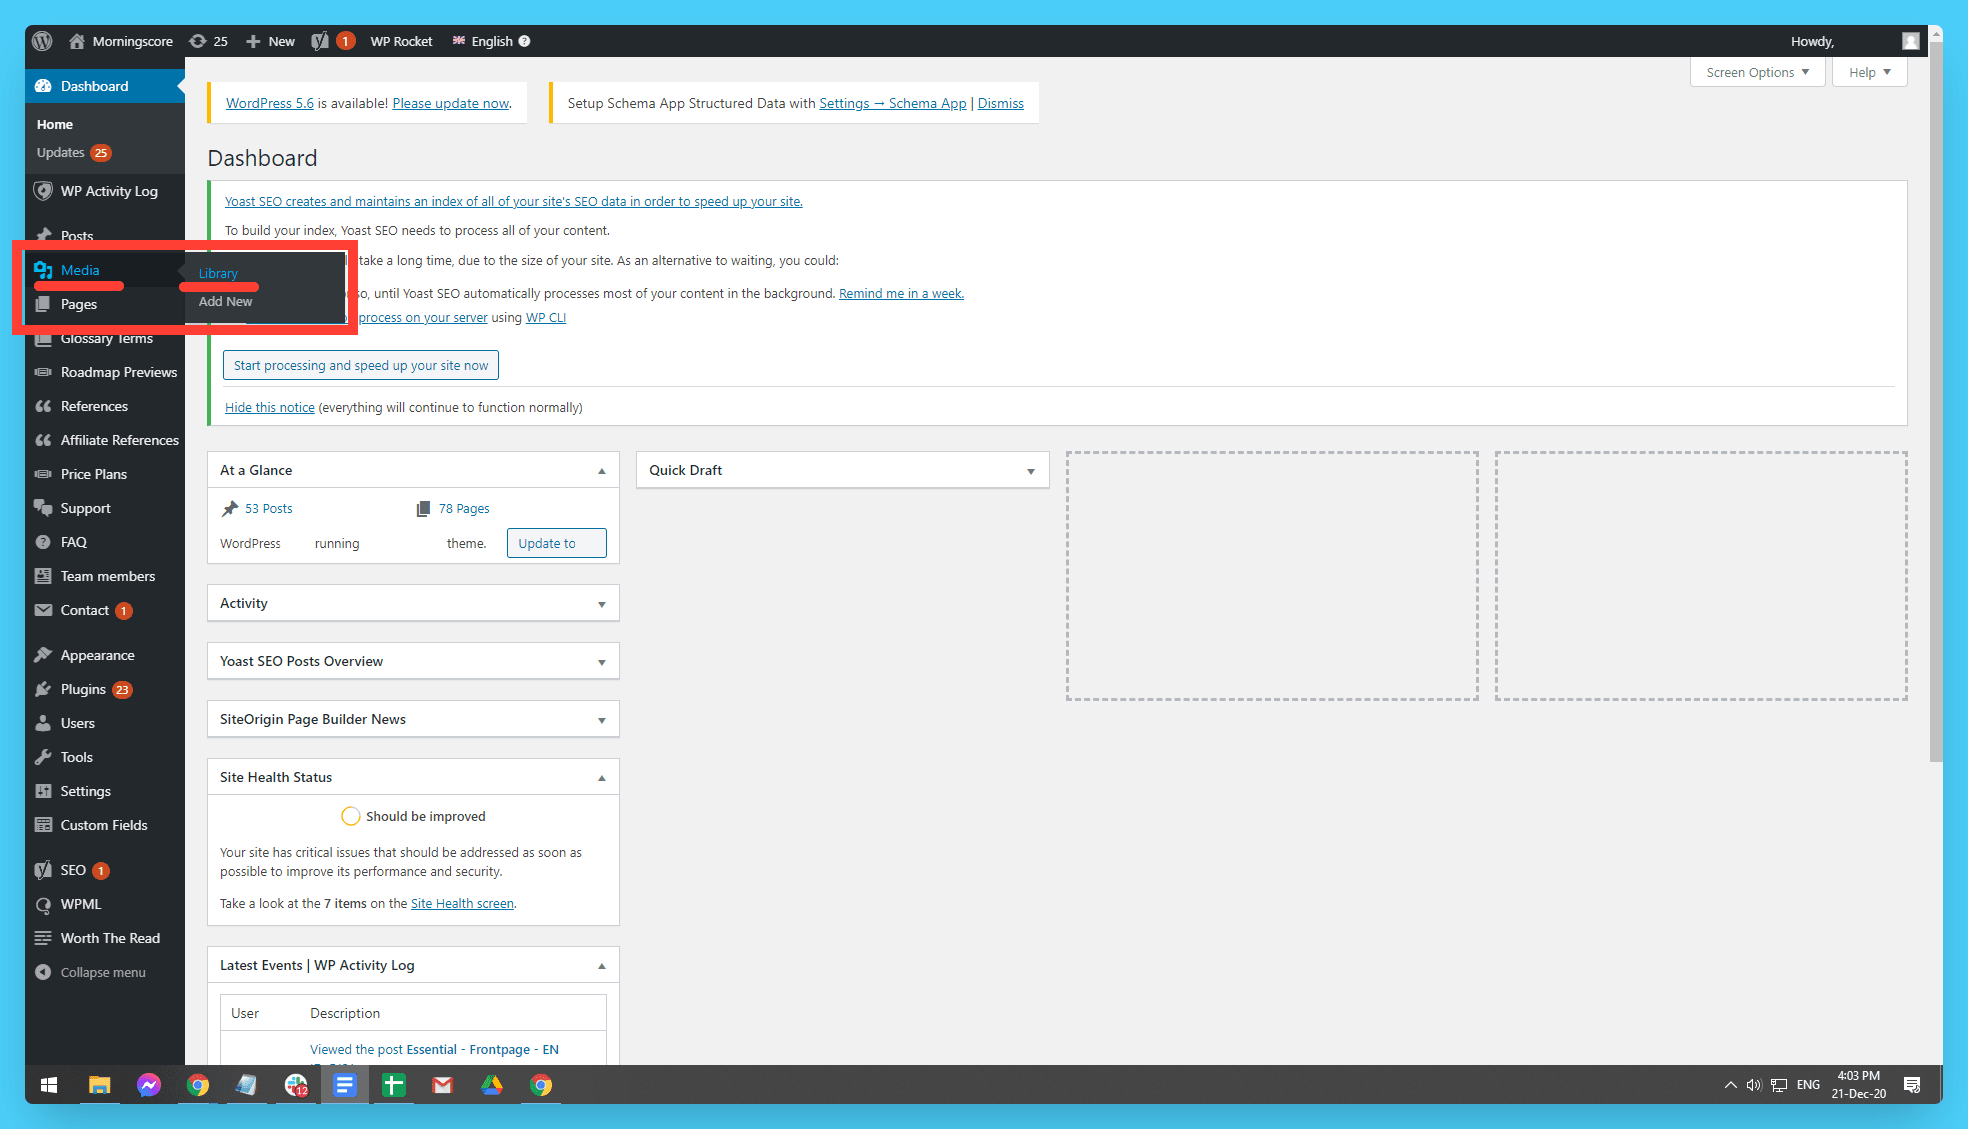
- Go to Media -> Library in your WordPress Dashboard.

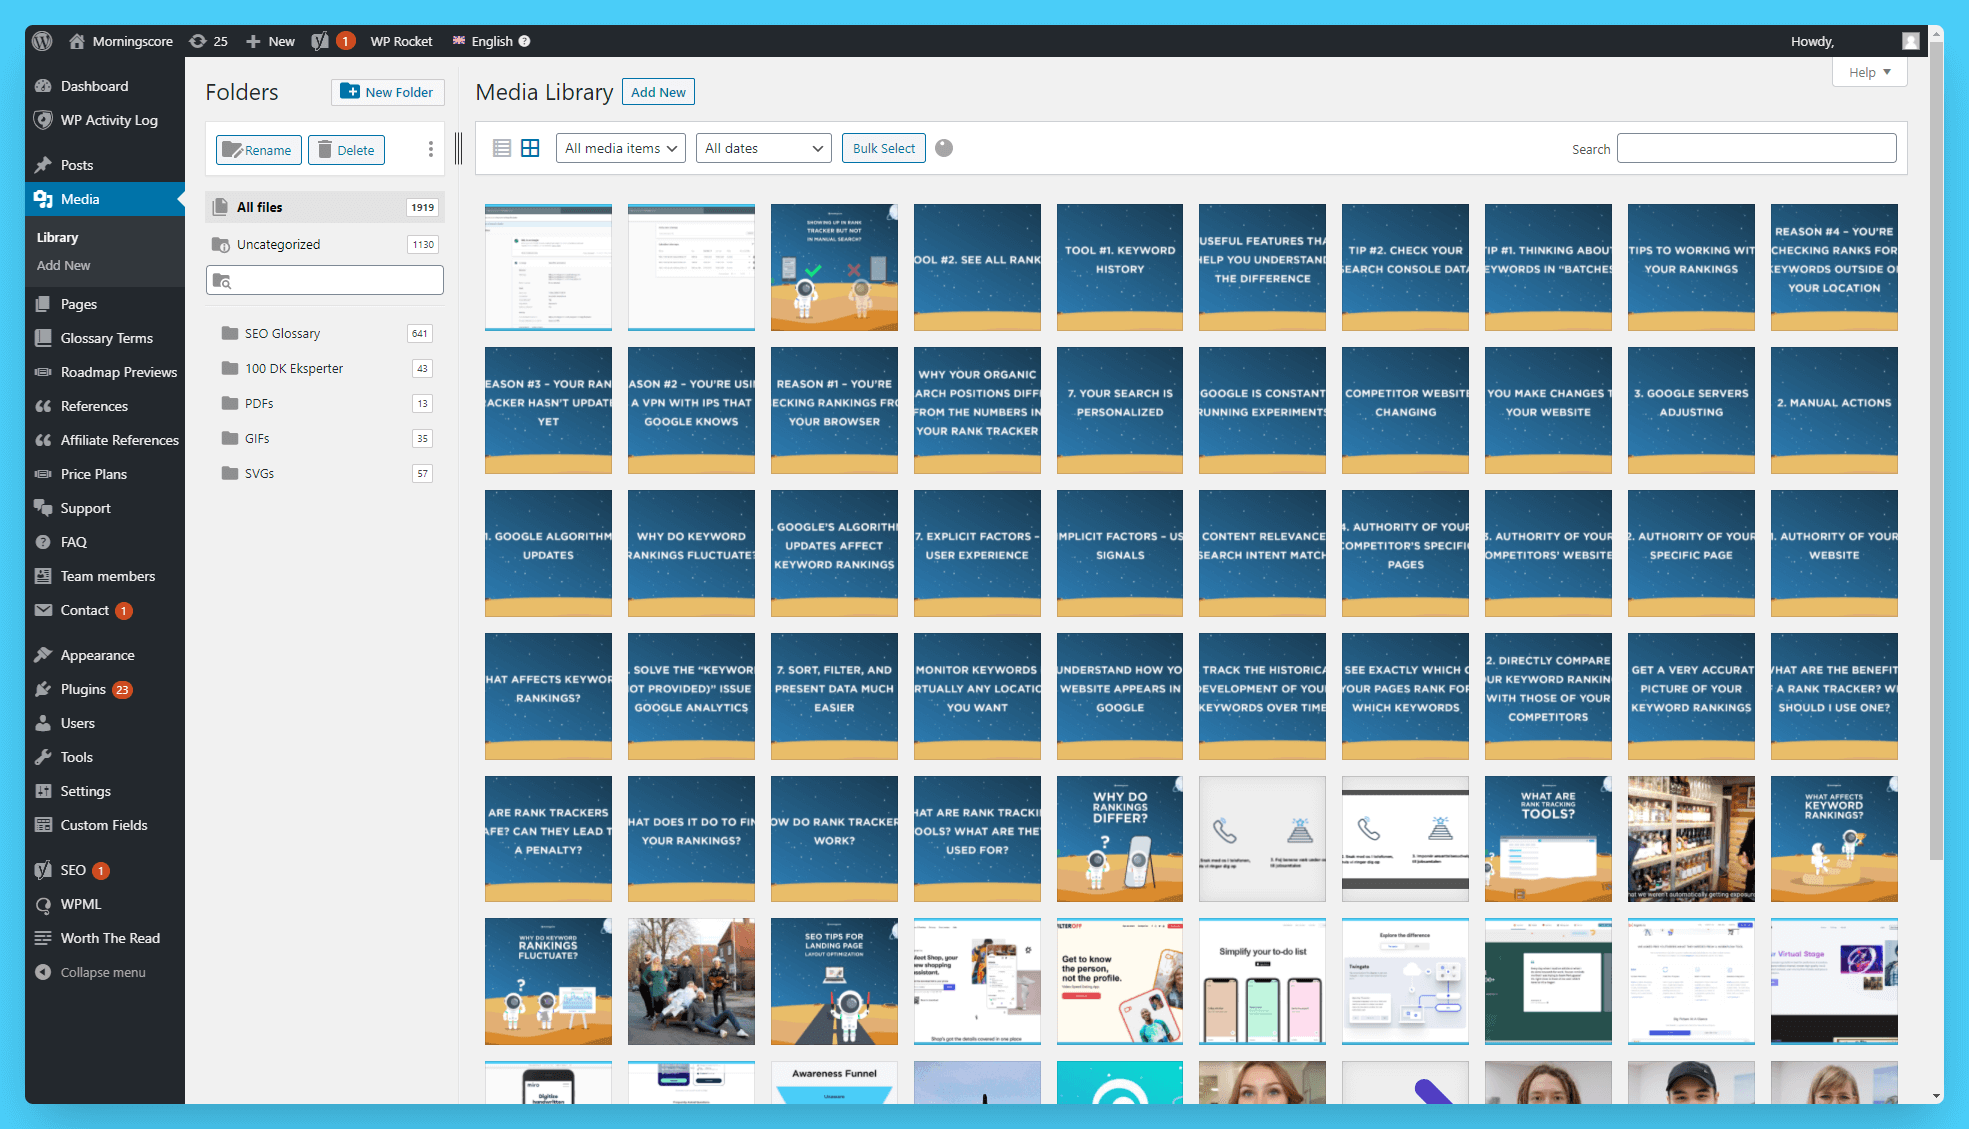
- Click on any of the images on the list or upload a new one.

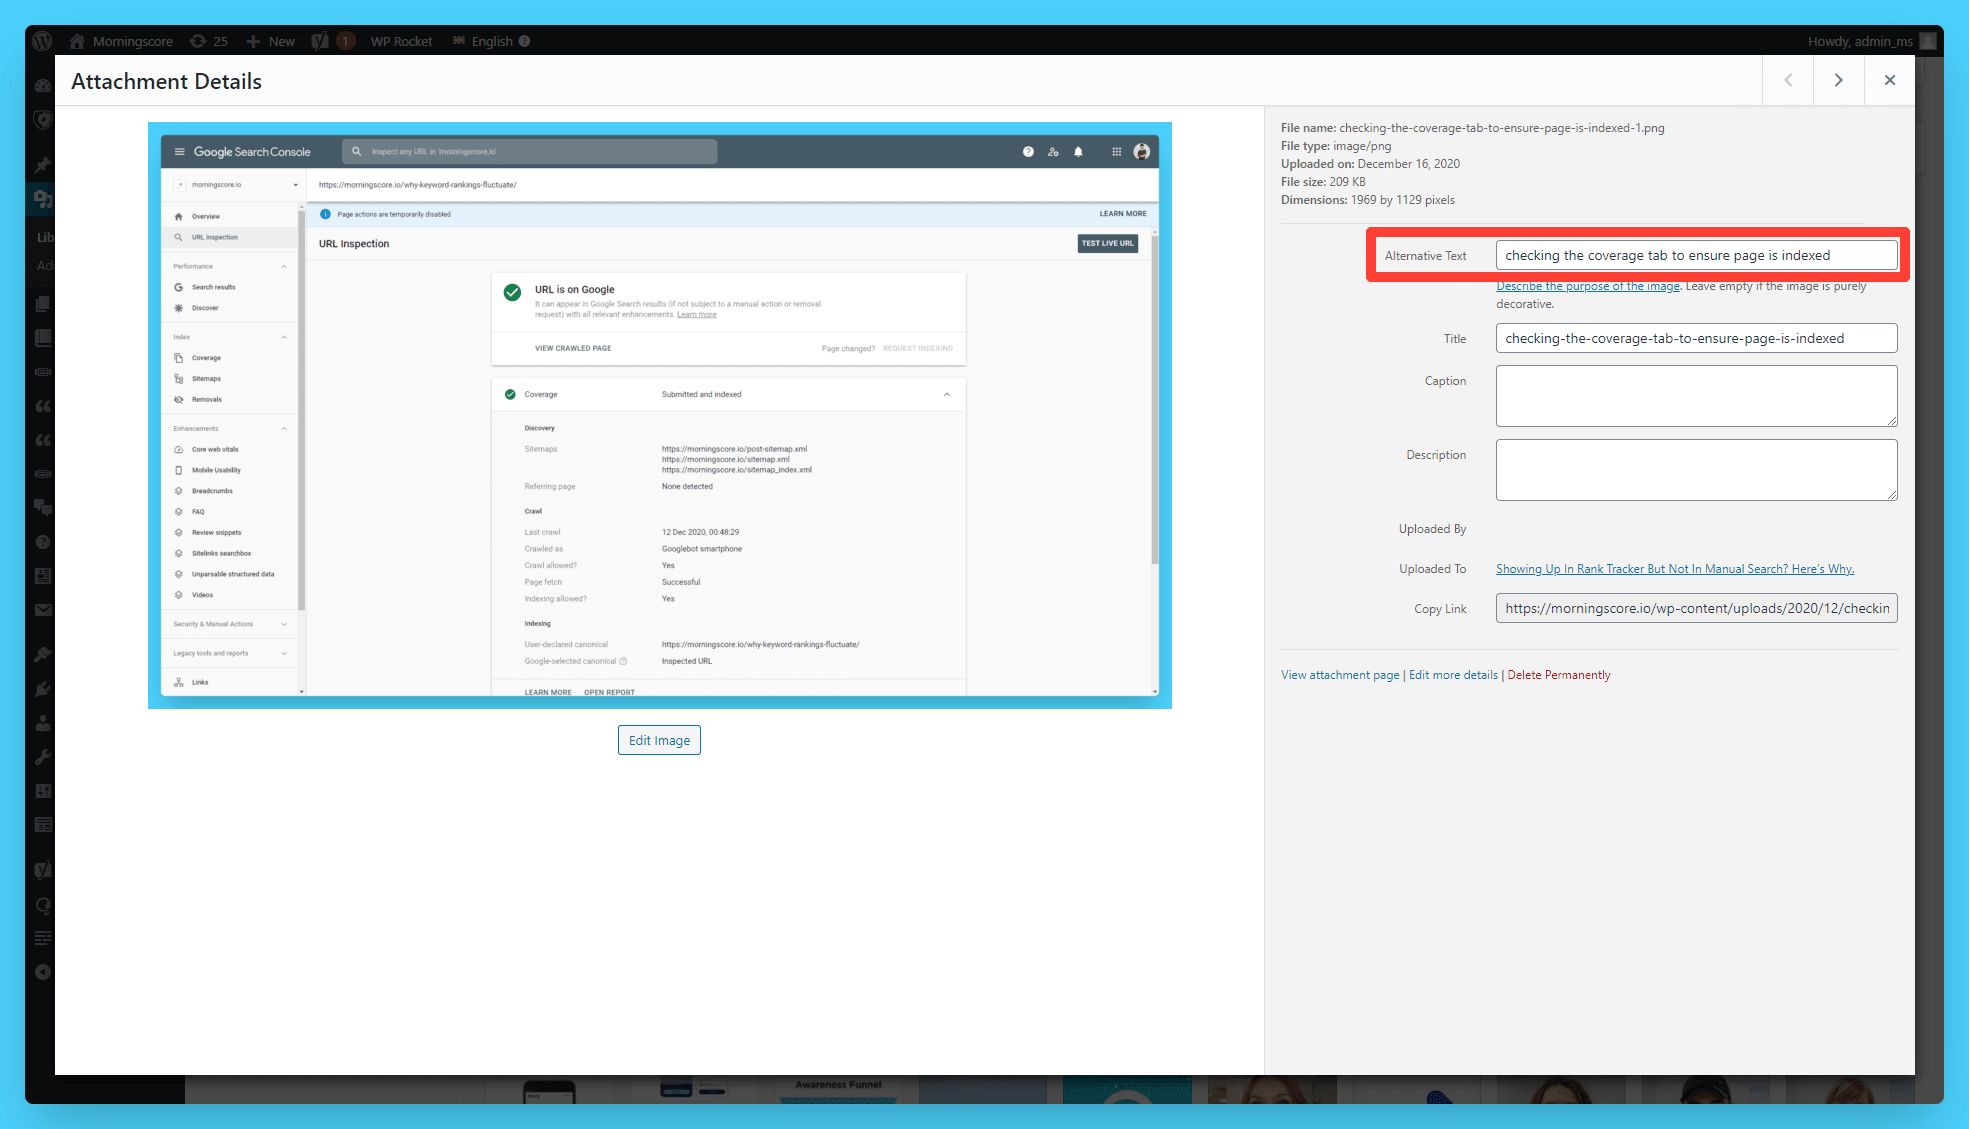
- Fill out the “Alternative Text” field on the right-hand side.

- Click off the Alternative Text field to let WordPress save your changes.
The only downside to this method would be that you can’t see exactly where and how the image is featured. Not having this context can make your alt tags somewhat irrelevant.
Alternative Method #2: Directly In The Page Code
Lastly, If the first two methods do not work for you, here’s an alternative way to do that. You could add or overwrite the alt tag in the HTML code for each image.
Here’s the second alternative method:
- Open your blog post or page and find the image in question.
- Select the image by clicking and dragging on it with your mouse.

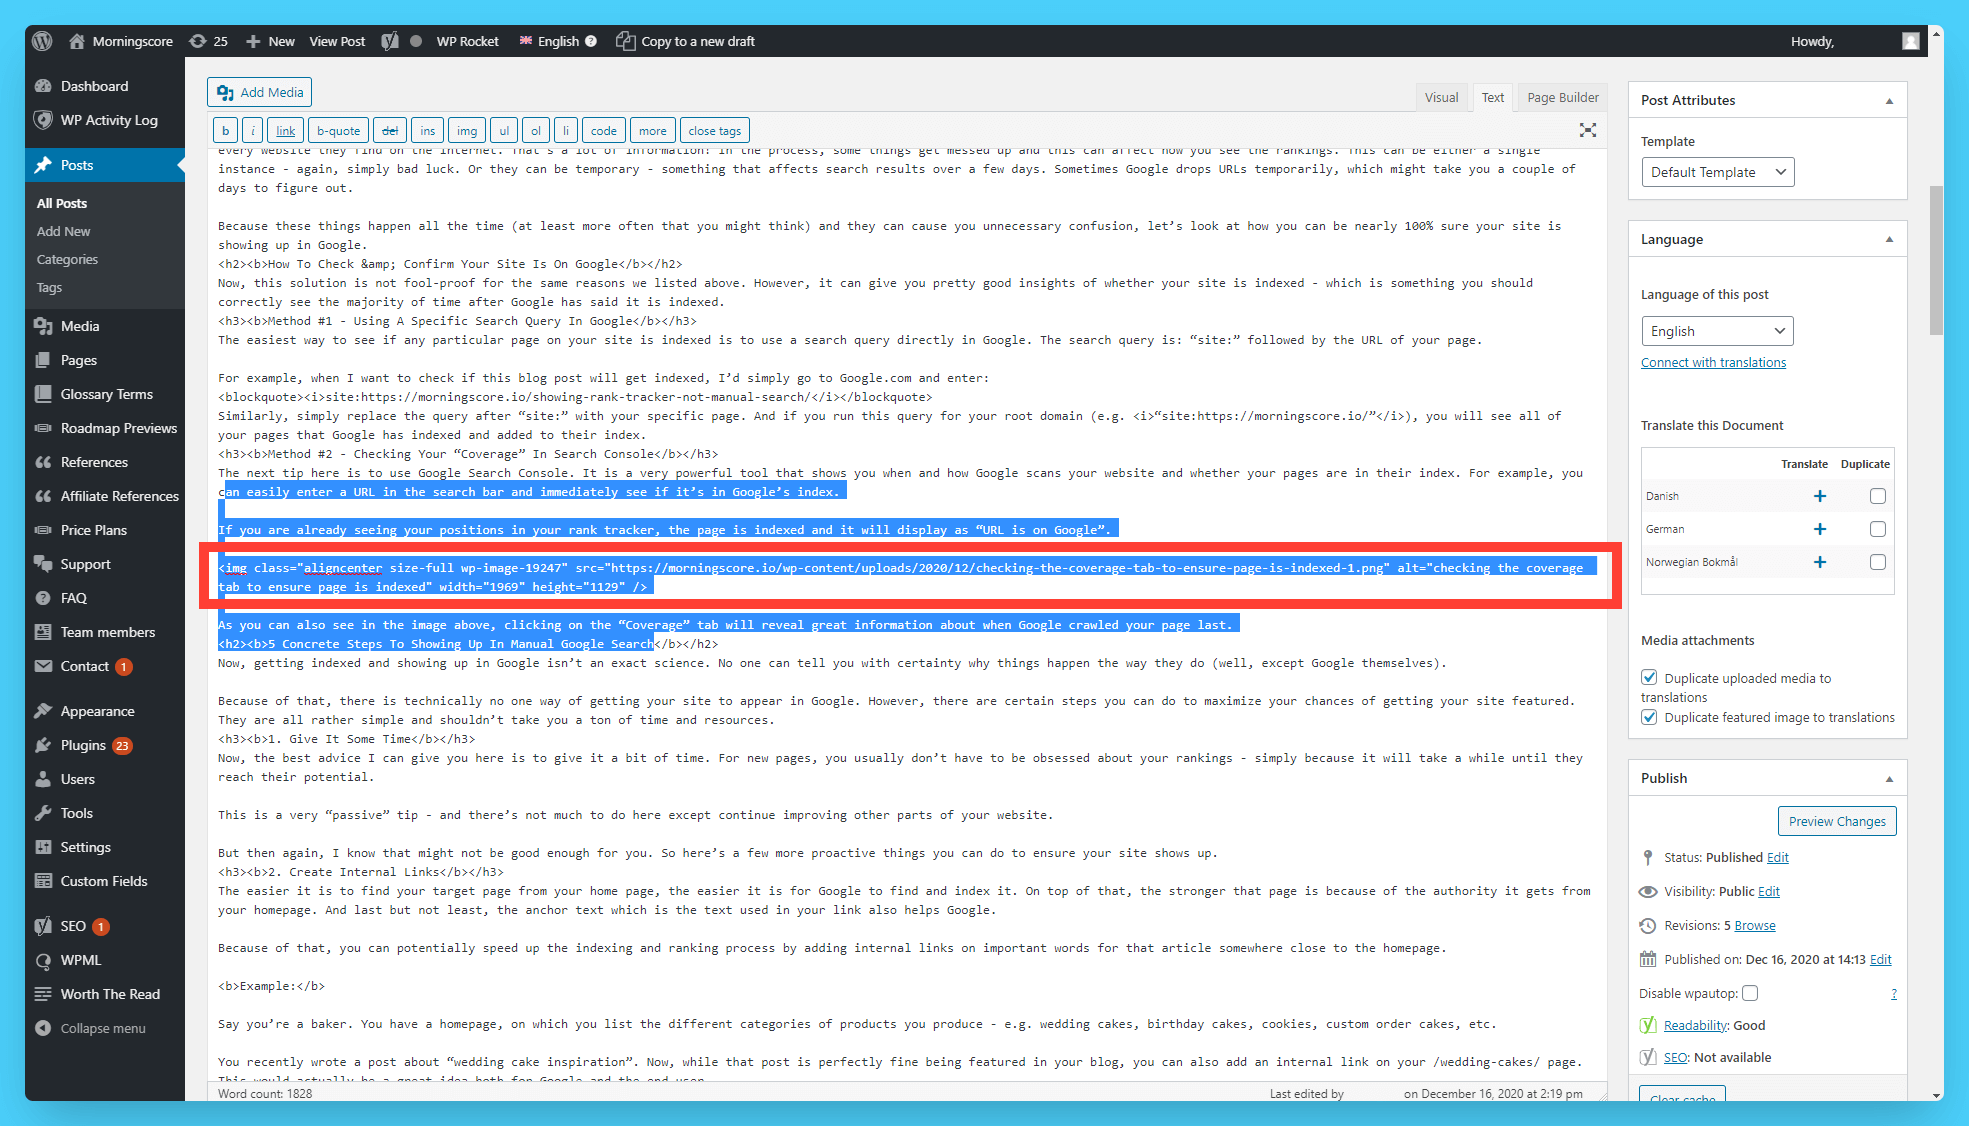
- Now click on the “Text” editor in the top-right corner of the WordPress editor.

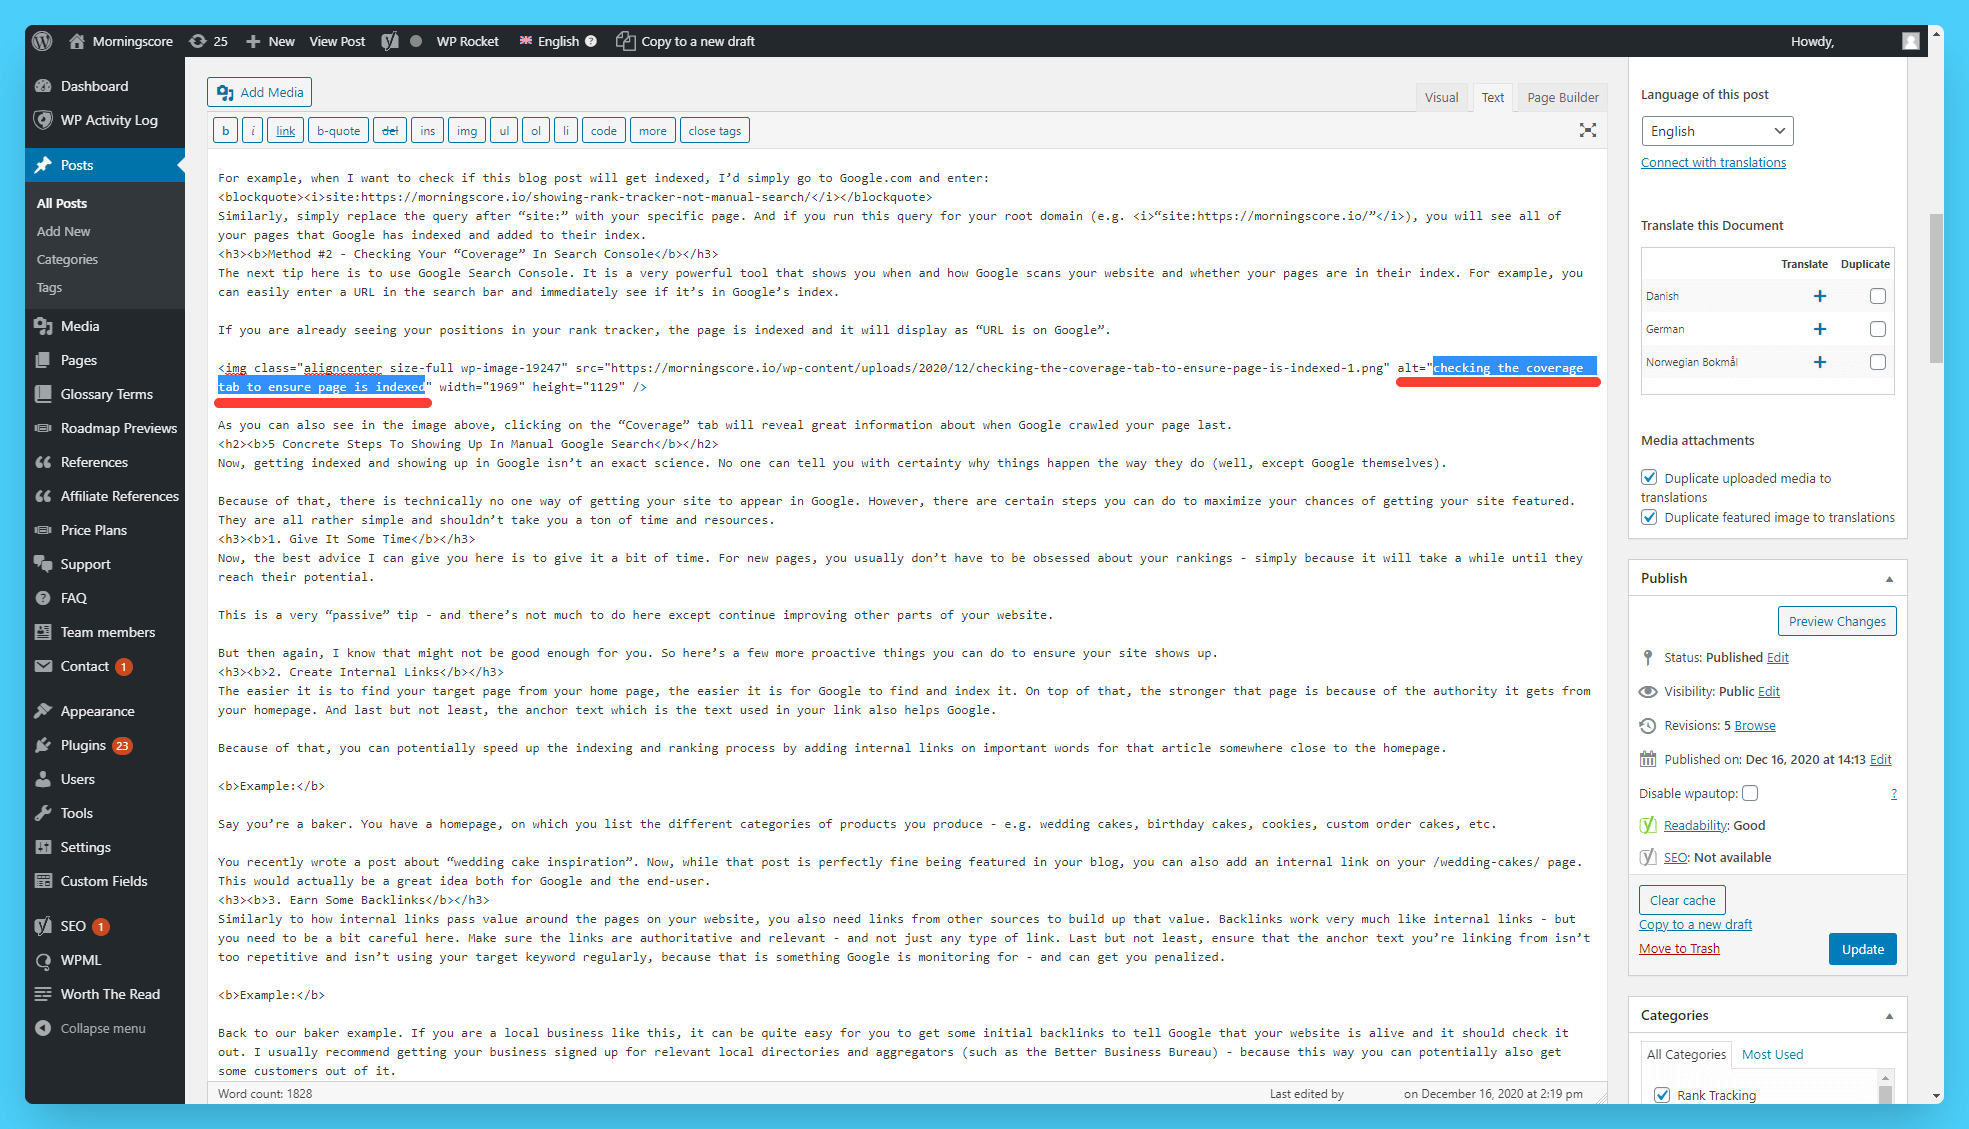
- Now, in the line of code starting with “<img,” replace the values of the attribute alt=”TEXT HERE.”

- Lastly, click “Save Draft” or “Update” your post to apply your changes.
This process is useful in some instances where an image has a global alt tag added but you want to change it on a specific page. For example, suppose that you have an image with a very “generic” alt tag. However, that image also has some more specific role on only one of your pages.
Because of that, you don’t want to re-upload the image. After all, why host the same image twice, and why should the user load the same image twice instead of having it cached upon encountering it the first time, right? In that case, it’s perfectly fine to write the global alt text for the image in the Media Library but replace it with a custom text on some specific pages.
However, it’s important to mention that this process requires tinkering and, therefore, significantly more time.
Steal My Process Of Writing Effective Alt Tags In WordPress
Here’s an exact process for writing alt tags for both pages and articles. It works everywhere, regardless of the topic on which you’re writing. This little strategy also brings you some additional Image SEO spillover effect.
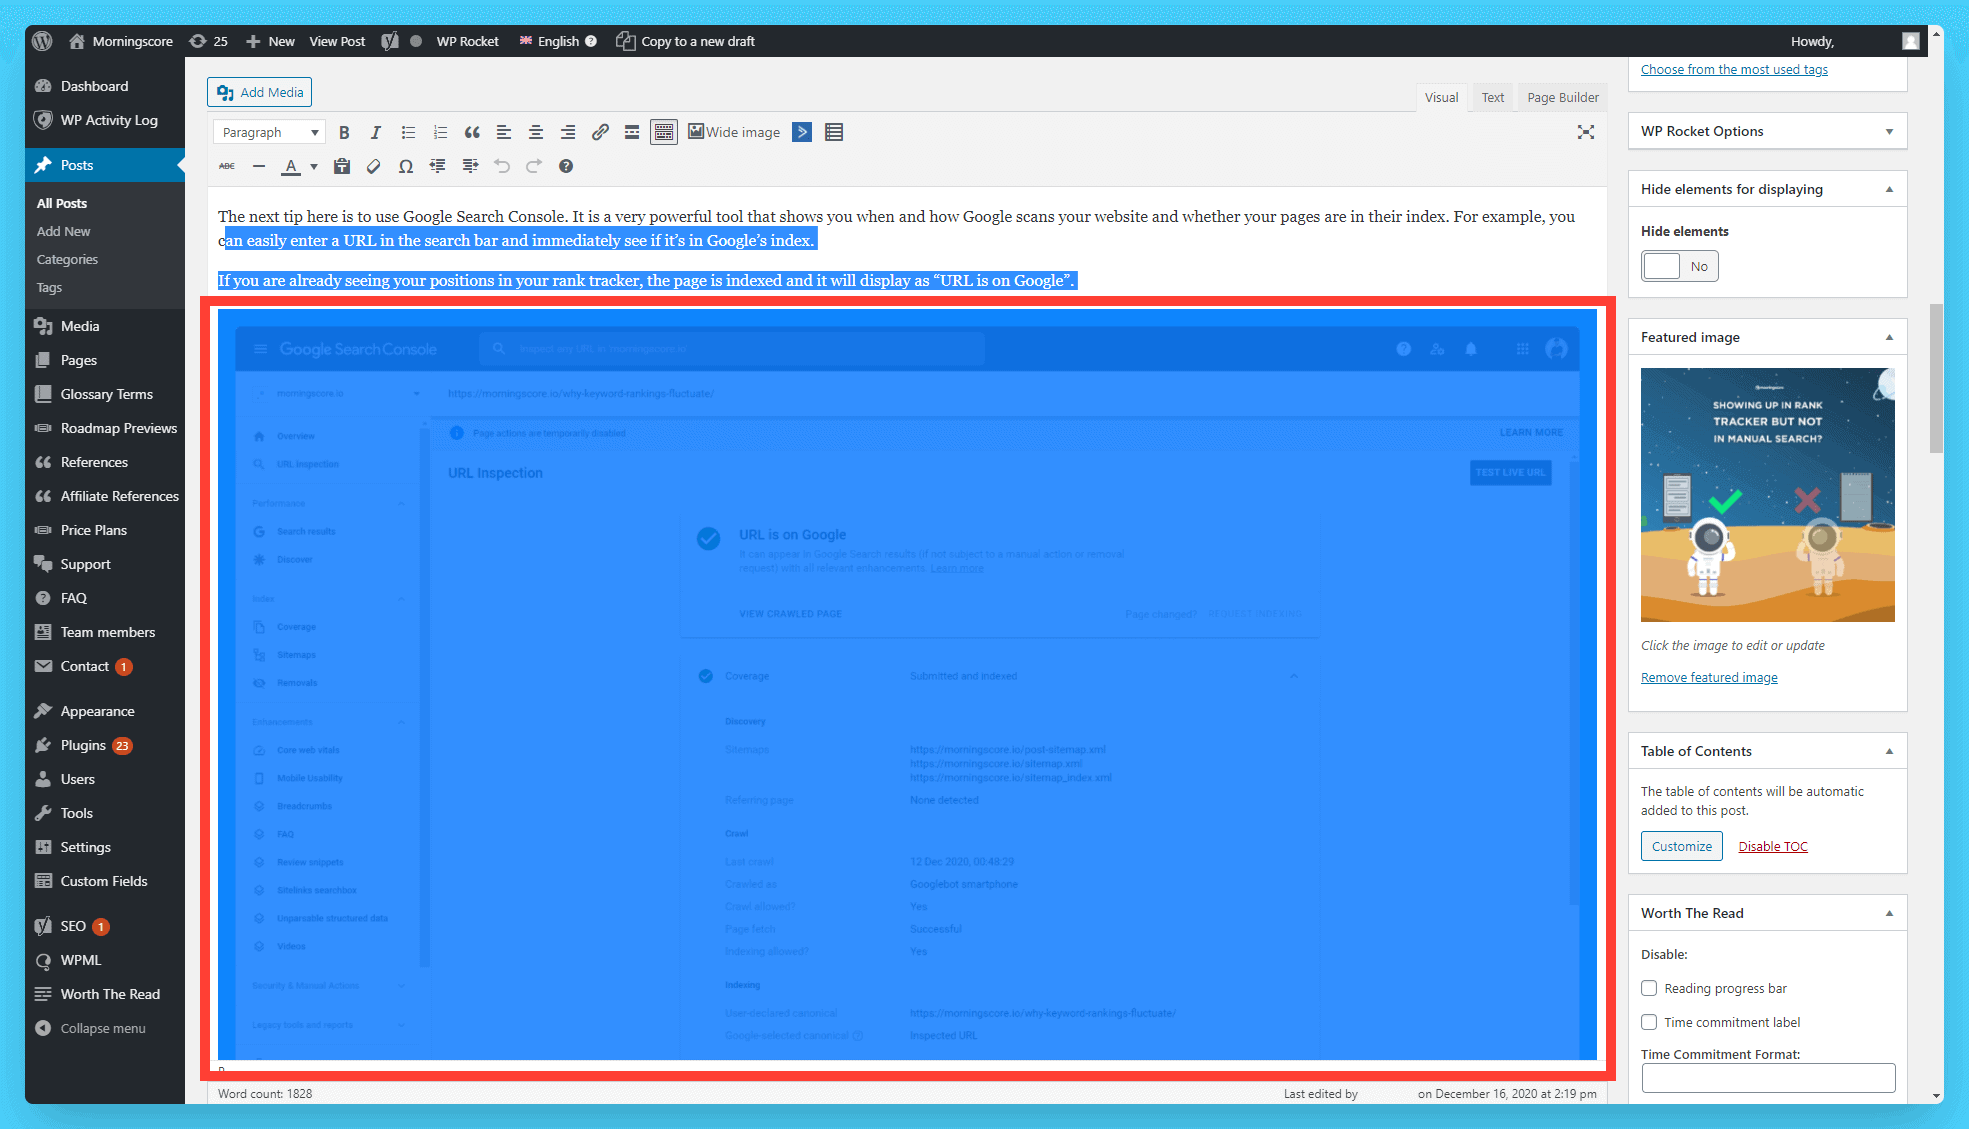
When creating blog posts, add your images last – and add the alt tag as you upload the pictures. To showcase how exactly, I’ll go as far as showing you the steps for this very article.
You begin by mapping out images you want to use and marking their spots already in the text.
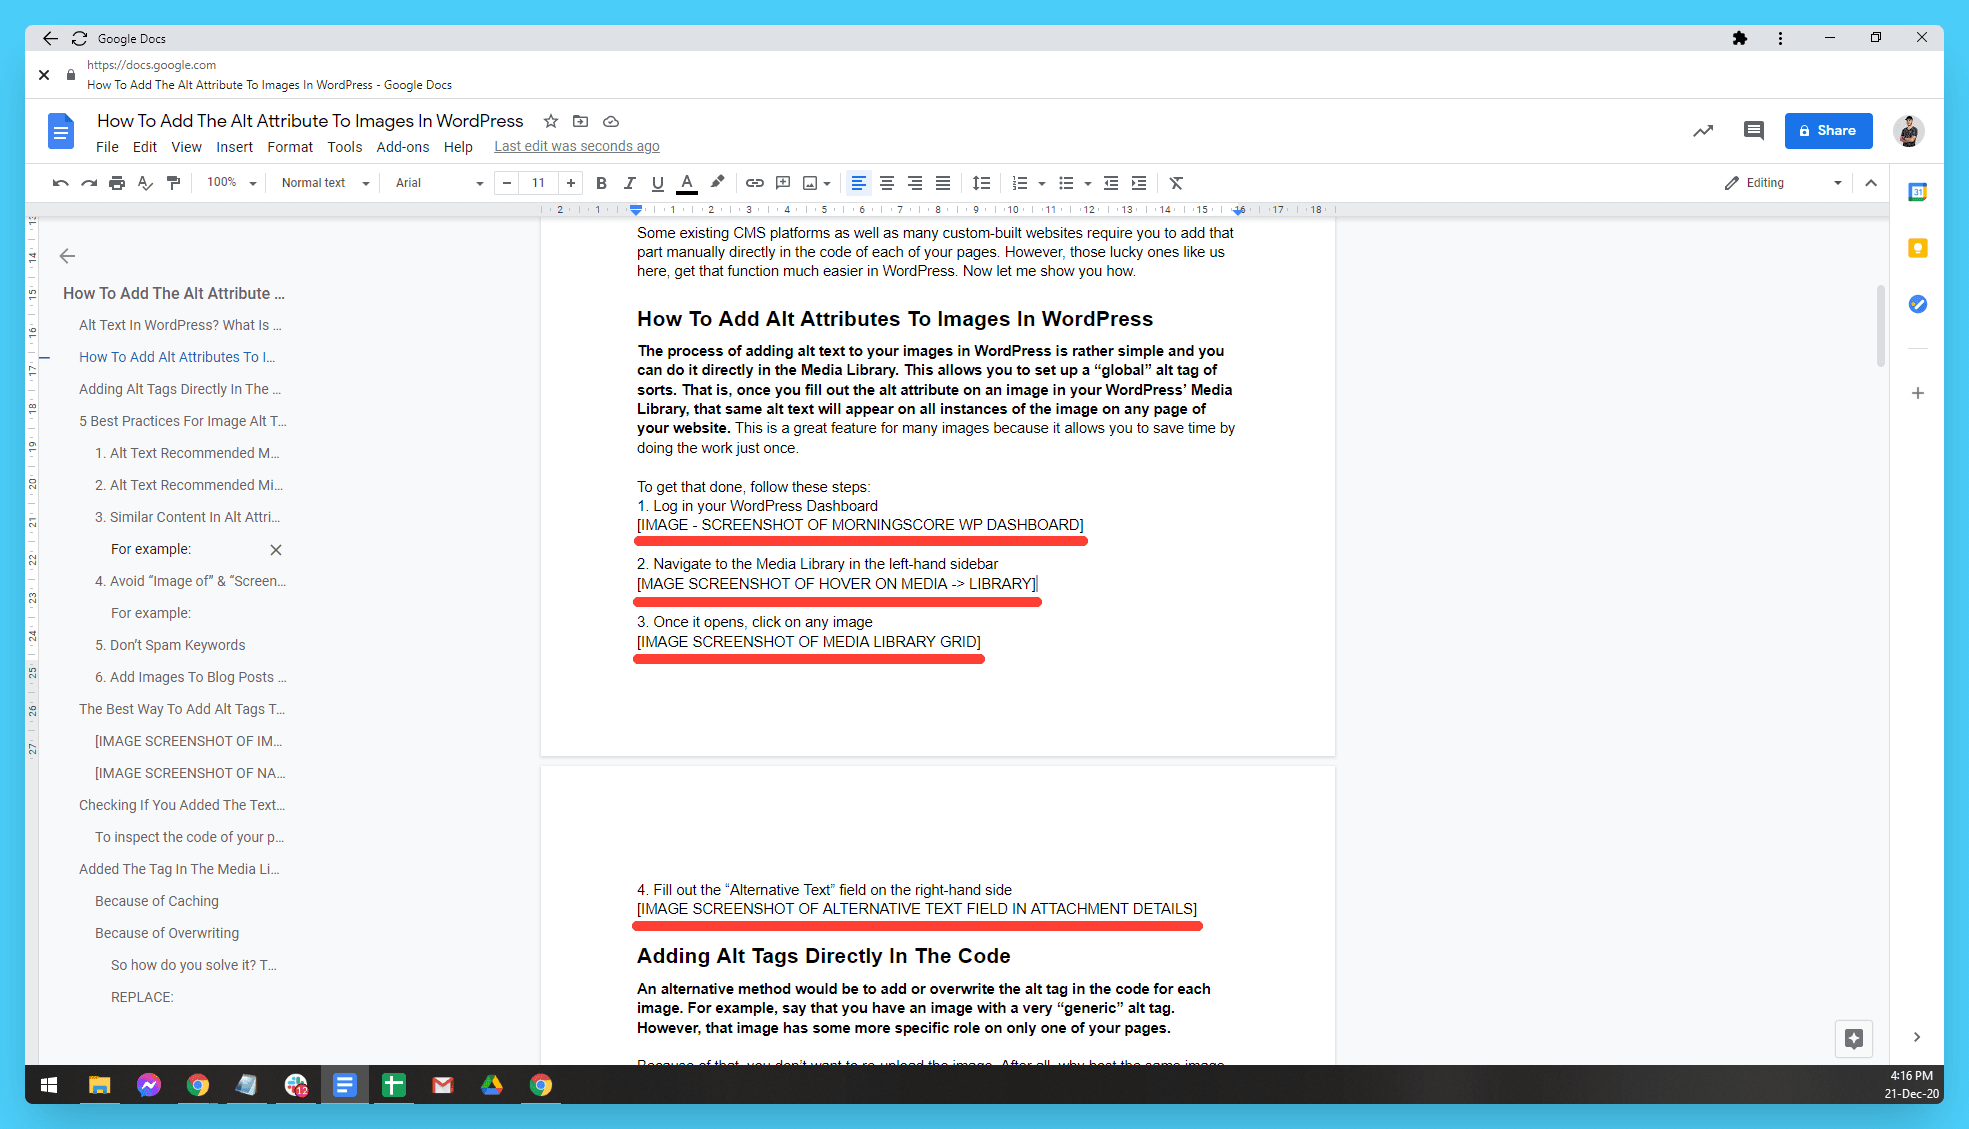
This way, you’re able to name the images with something relevant to the paragraph. That happens because you now know which picture belongs to which section.
For example, if you’re creating a dog food comparison table as an image, you can call that image “best-dog-foods-this-year-comparison-table.png.”
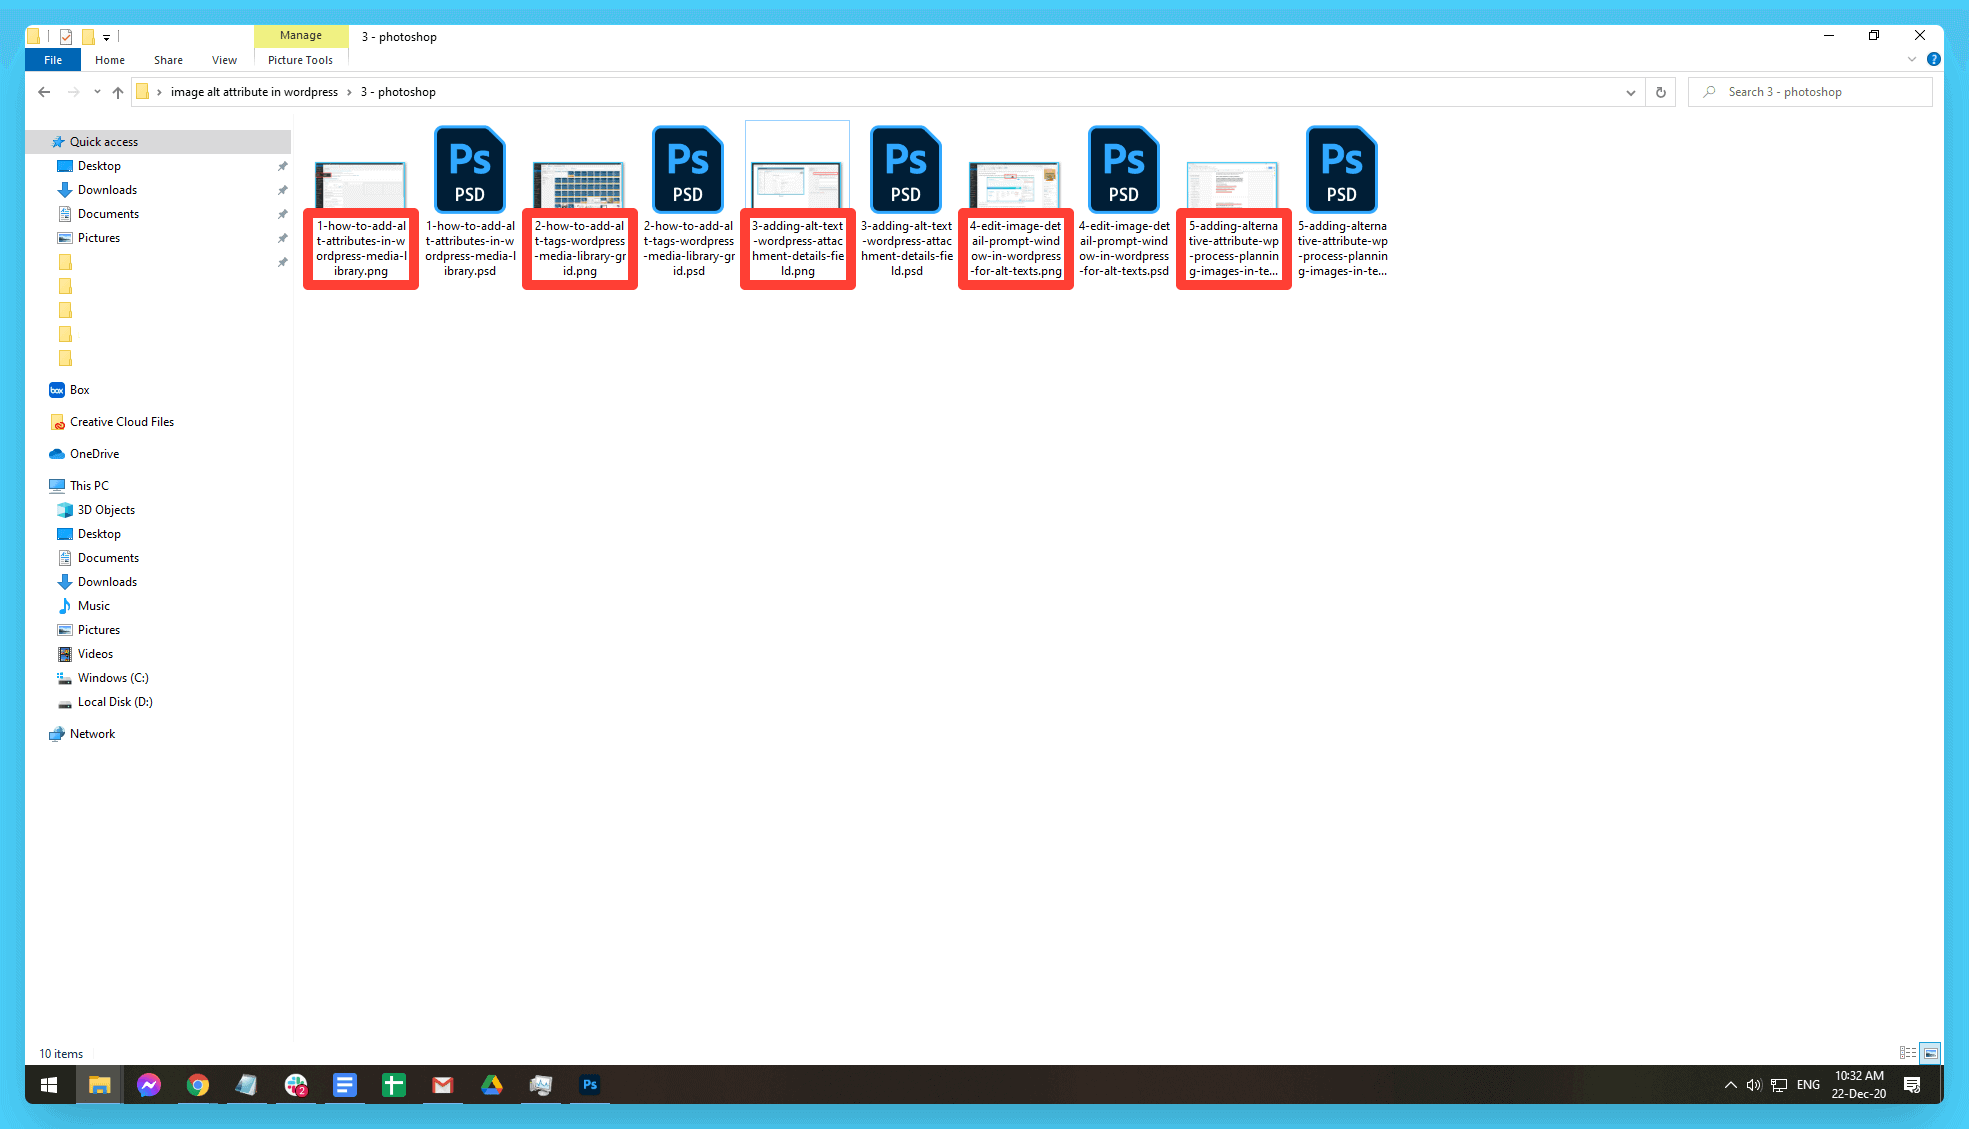
This way, once I’ve uploaded the image to your WordPress Media Library, all you have to do is:
- Copy the “Title” of the image (e.g., best-dog-foods-this-year-comparison-table.png).
- Paste it in the “Alt Text” field.
- Remove the hyphens (e.g., best dog foods this year comparison table).
So why is this process the “Next Best Thing Since Sliced Bread™?” Well, this way, you:
- Force yourself to write concise image names to reduce messiness.
- Write good image file names for better SEO.
- Find it more comfortable to assign images at the correct places.
- Have a very relevant and descriptive alt tag already done.
- Fit in the 125 characters rule of thumb – because you naturally prefer short file names to keep things clean.
To wrap up, as you can see in the example screenshot above, you can mark all places where an image has to be added square brackets [like this] directly in the text.
This practice allows you to search in the text once you finish writing and find the exact image spots. It also enables you to figure out whether you’ve missed an image.
Last but not least, batching your work also simplifies compressing images all at the same time.
Thus, you also avoid potentially missing out on optimizing some of them. My favorite one for the job, which is also free, is TinyPng.
Checking If You Added The Text Successfully
There are two simple ways to check if you’ve added your alt tags successfully to your WordPress site. The first method is by inspecting your page’s code, and the second one is by crawling your site with an SEO tool.
To inspect the code of your page:
- Right-click on the live page.
- In the menu that appears, select “View page source.”
- On the page that opens, press CTRL+F on Win or CMD+F on Mac.
- In the search field, enter alt=”.
Doing this will highlight all instances of images with Alt text on your site. In turn, this will help you troubleshoot not just one but all images on the page simultaneously.
To check your images with a tool:
- Log in your tool of choice – I will, of course, be using Morningscore.
- Go to the Site Audit tool.
- Scan the page where you made the changes.
- Once ready, you will if the change fixes the problem.
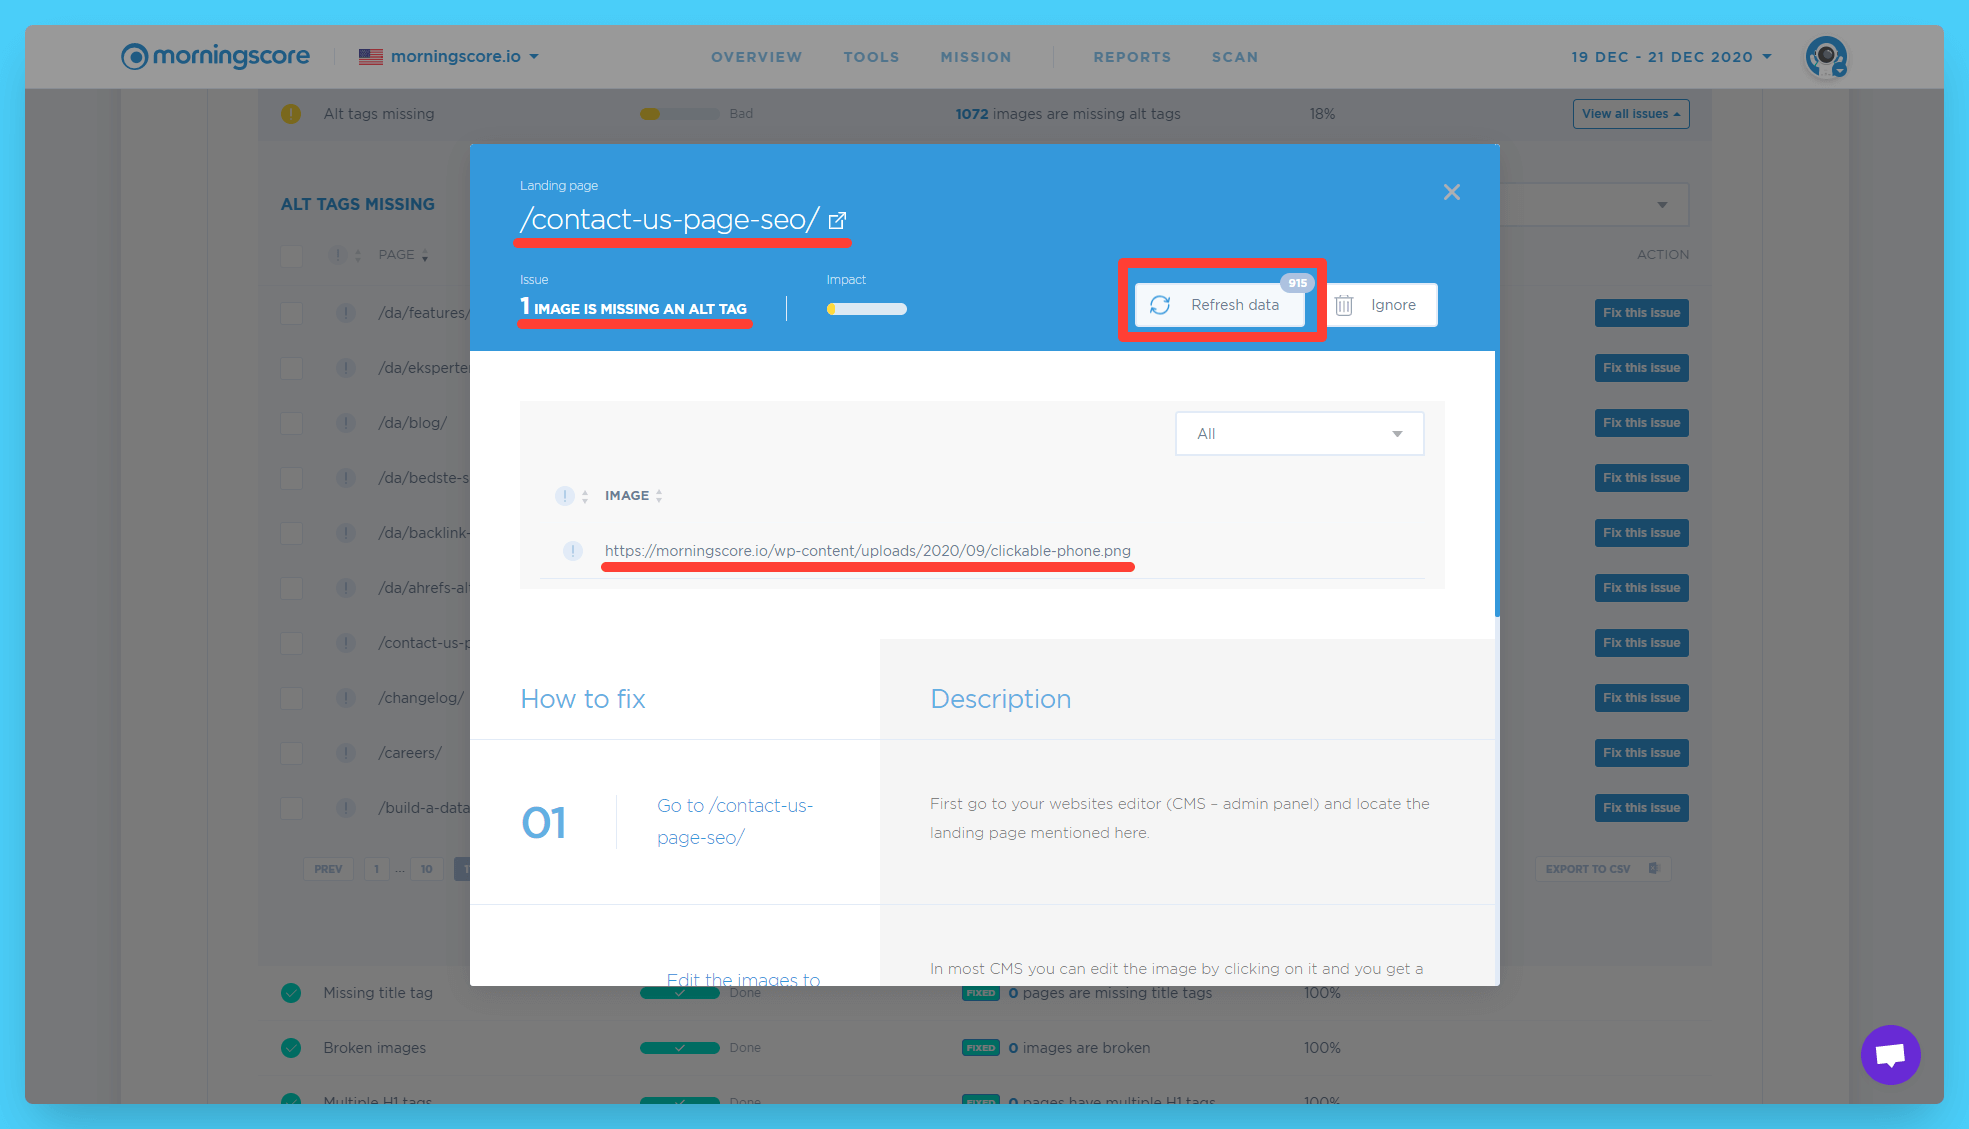
Lastly, people sometimes experience that their alt tags are not shown or updated in WordPress even after they have added them. If that has happened to you, check out our post on fixing WordPress alt tags that aren’t showing.
Closing Words
Adding or changing image alt tags won’t make or break your website’s success on its own. They are simply yet another piece of the puzzle that helps you rank higher and get more traffic. Using the process listed above, you’re sure to complete that task with minimal effort, yet reap all the rewards.

